How to make a doily with fine acrylic yarn?
Oct 27, 2025
Leave a message
Making a doily with fine acrylic yarn is a delightful and rewarding craft that combines creativity with a touch of elegance. As a supplier of high - quality fine acrylic yarn, I'm excited to share with you the step - by - step process of creating a beautiful doily.
Choosing the Right Fine Acrylic Yarn
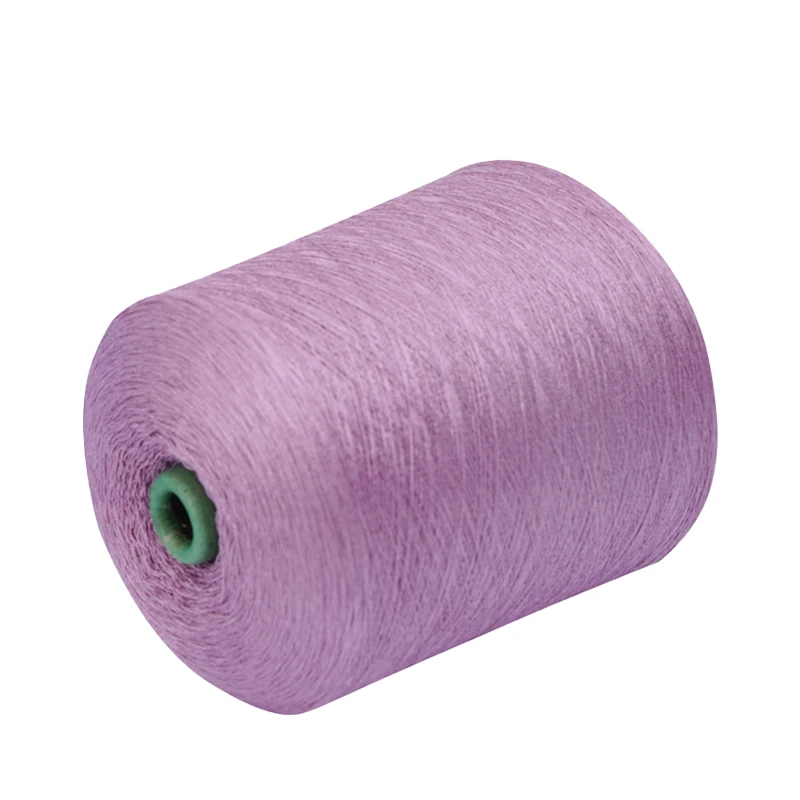
The first step in making a doily is selecting the appropriate fine acrylic yarn. We offer a wide range of options to suit different preferences and projects.
Semi - dull Acrylic Yarn is an excellent choice for doilies. Its semi - dull finish gives a soft and sophisticated look, which is perfect for creating a classic doily. This type of yarn is also very durable, so your doily will last for a long time.
If you prefer a yarn with a bit more body, 6 Ply Acrylic Yarn might be the right option. It's thicker than some other types of acrylic yarn, which can make it easier to work with, especially if you're new to crocheting or knitting doilies. It also creates a more substantial doily that can be used as a decorative centerpiece.
For a finer and more delicate look, 30s/2 Acrylic Yarn is a great pick. This yarn allows you to create intricate patterns with fine details, resulting in a truly elegant doily.
Tools You'll Need
- Crochet Hook or Knitting Needles: The size of the hook or needles will depend on the thickness of the yarn you choose. Generally, for fine acrylic yarn, a small - sized crochet hook (such as a 2.5mm - 3.5mm) or knitting needles (around US size 2 - 4) are suitable.
- Scissors: To cut the yarn when needed.
- Tapestry Needle: Useful for weaving in the ends of the yarn after you've finished your doily.
Crocheting a Doily
Step 1: Start with a Magic Ring
If you're crocheting, a common way to start a doily is with a magic ring. Make a small loop with the yarn, insert the crochet hook into the loop, and chain 2. Then, work a number of single crochets (usually 6 - 8) into the loop. Pull the end of the yarn to tighten the ring. This forms the center of your doily.
Step 2: Build the Rounds
After the first round, you'll start to build the doily by working different stitch patterns in each round. For example, you might alternate between single crochets, double crochets, and chains to create a lace - like effect. As you work each round, increase the number of stitches to make the doily larger. You can use stitch markers to keep track of the beginning and end of each round.
Step 3: Create Patterns
There are countless crochet patterns available for doilies. You can find simple geometric patterns for beginners or more complex floral and lace patterns for advanced crocheters. Look for patterns that match the style of doily you want to create and follow the instructions carefully. You can add decorative elements like picots (small loops) or shells to give your doily a unique look.
Step 4: Finish the Doily
Once you've reached the desired size of your doily, you'll need to finish it off. This usually involves working a final round of stitches and then cutting the yarn, leaving a long tail. Use the tapestry needle to weave in the ends of the yarn to make the doily look neat and professional.
Knitting a Doily
Step 1: Cast On
When knitting a doily, start by casting on a small number of stitches (usually 8 - 12). You can use different casting - on methods, such as the long - tail cast - on or the knitted cast - on.

Step 2: Work the Rows
In knitting, you'll work rows instead of rounds like in crocheting. You can use different stitch combinations, such as knits and purls, to create patterns. For example, a simple garter stitch or a stockinette stitch can be used as a base, and then you can add more complex patterns as you progress. As you work each row, you'll need to increase the number of stitches to make the doily larger.
Step 3: Shape the Doily
To give the doily its characteristic round shape, you'll need to increase stitches in a strategic way. This might involve increasing at the beginning and end of each row or in specific intervals. You can also create scalloped edges by decreasing stitches in certain areas.
Step 4: Finish the Knitting
When the doily reaches the desired size, bind off the stitches. Use the tapestry needle to weave in the ends of the yarn, just like in crocheting.
Blocking Your Doily
After you've finished crocheting or knitting your doily, blocking it can make a big difference in its appearance. Blocking helps to even out the stitches, shape the doily properly, and make the patterns more defined.
To block a doily, lay it out on a flat surface covered with a towel. Spritz it lightly with water or use a steam iron (on a low - heat setting) to dampen the yarn. Then, use pins to stretch the doily into the desired shape. Let it dry completely before removing the pins.
Using Your Doily
Once your doily is complete, there are many ways to use it. You can place it on a table as a decorative centerpiece, use it under a vase or a candle, or even frame it and hang it on the wall as a piece of art. Doilies also make great gifts for friends and family, especially during holidays or special occasions.
Contact for Procurement
If you're interested in purchasing our high - quality fine acrylic yarn for your doily projects or other crafts, we'd love to hear from you. Whether you're a hobbyist or a professional crafter, our yarns are sure to meet your needs. We offer competitive prices, excellent customer service, and a wide selection of colors and types of acrylic yarn. Please reach out to us for more information and to start a procurement discussion.
References
- "The Complete Book of Crochet" by Jean Leinhauser
- "Knitting for Dummies" by Vickie Howell